Tear Aid Review – An Emergency Repair Kit and Patch
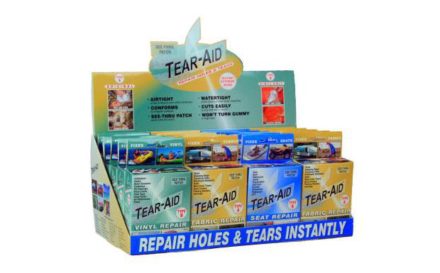
We may earn commissions if you shop through the links below. On a 45-day kayaking trip about a week from the end of the trip, I stopped for lunch and took my top off to cool off and change to a lighter layer. After lunch, pulling on the drysuit, I felt the neck gasket tear — a smooth, soundless rip that released the tension in the gasket, but caused my stomach to turn. The rip was huge. It ran from the top of the gasket almost all the way to the base. My standard repair kit includes Aquaseal, duct tape and bulk bike tire repair material, but for various reasons my repair kit didn’t come in the resupply box that I sent my drysuit in. Luckily, I was in town, so I stopped by the local outfitter to buy some Aquaseal. The owner recommended that I try a Tear-Aid Type A Repair Kit. After using the product, I figured it was worthwhile to do a Tear Aid review. Tear-Aid Repair Tape TEARepair, Inc. manufactures Tear-Aid repair tape in two flavors: Type A and Type B. You use Type B repair tape for vinyl and Type A for every other type of fabric. The company claims the tape is tough, abrasion resistant, stretchy and that it resists tearing and punctures. The adhesive bonds to many different types of surfaces and bonds to full-strength quickly. You can use it to repair holes or rips. Each Tear Aid patch kit comes with one 3- by 12-inch patch, one 7/8-inch square patch, one 1 3/8-inch square patch, a 12-inch reinforcement filament and two alcohol pads. Tear-Aid Instructions Using the product is simple. You warm the fabric to 50 degrees Fahrenheit, clean it with the alcohol pads and dry it. Then cut the Tear Aid tape to size, so that it extends 1 inch from each side of the tear. You peel back 1/2 inch of the backing and then apply it to the rip while rubbing it aggressively to remove any air bubbles and bond it to the fabric. You then repeat the process on the backside of the tear. For tears that go to the edge, you cut a piece of the reinforcement filament and tape it to the outside edge of the tear and overlap the tape to the backside of the material. After application, Type A adheres to 90 percent of its full strength and to full strength after one hour. Type B takes 24 hours for full strength adhesion. Tear Aid Review for Drysuit Gaskets Having a gasket rip feels like a trip ender, and for day trips it might be, but I still had a significant distance to paddle and didn’t want to bail off the trip, so I decided to give Tear Aid a try. Because a neck gasket is round and puckered, I found it difficult to tape the rip together by myself, but after a frustrating 10 minutes, I got the first side taped up. Getting the reinforcement filament to line up correctly was fiddly. The backside was much easier, because I didn’t have to try and hold the latex gasket together. With two people the repair would go quicker and feel easier. I felt a little skeptical putting the suit on the following morning, so I carefully and slowly stretched the gasket and pulled it over my head. I expected the tape to rip off, but it didn’t. It held up for the remainder of the trip, although air bubbles started to appear at various spots around the tape after about four days. You can see some of the bubbles in the picture. Functionally, the gasket sealed around my neck just like it would without a tear. I was pretty impressed with the performance, because it turned a nightmare into a easily manageable situation. Final Thoughts If you use a drysuit, you should carry a Tear-Aid repair kit. It’s as simple as that. It’s less messy than Aquaseal and bike patches or Aquaseal and duct tape. It bonds quickly, so you can get back on the water quickly. It works, and it can save your trip. Buy a kit right now. Highly Recommended! Tear-Aid Patch Kit Type A | $9.95 | Buy It From Amazon | Buy It From NRS | Buy It From REI
